Use the GIS Works Navigator screen to keep track of your Fiber (linear) projects and sites alongside the route in the map view. At any time, you have an insight into the progress of your project and site work items in the map view, following your project's route.
- Open the CloseOut app.
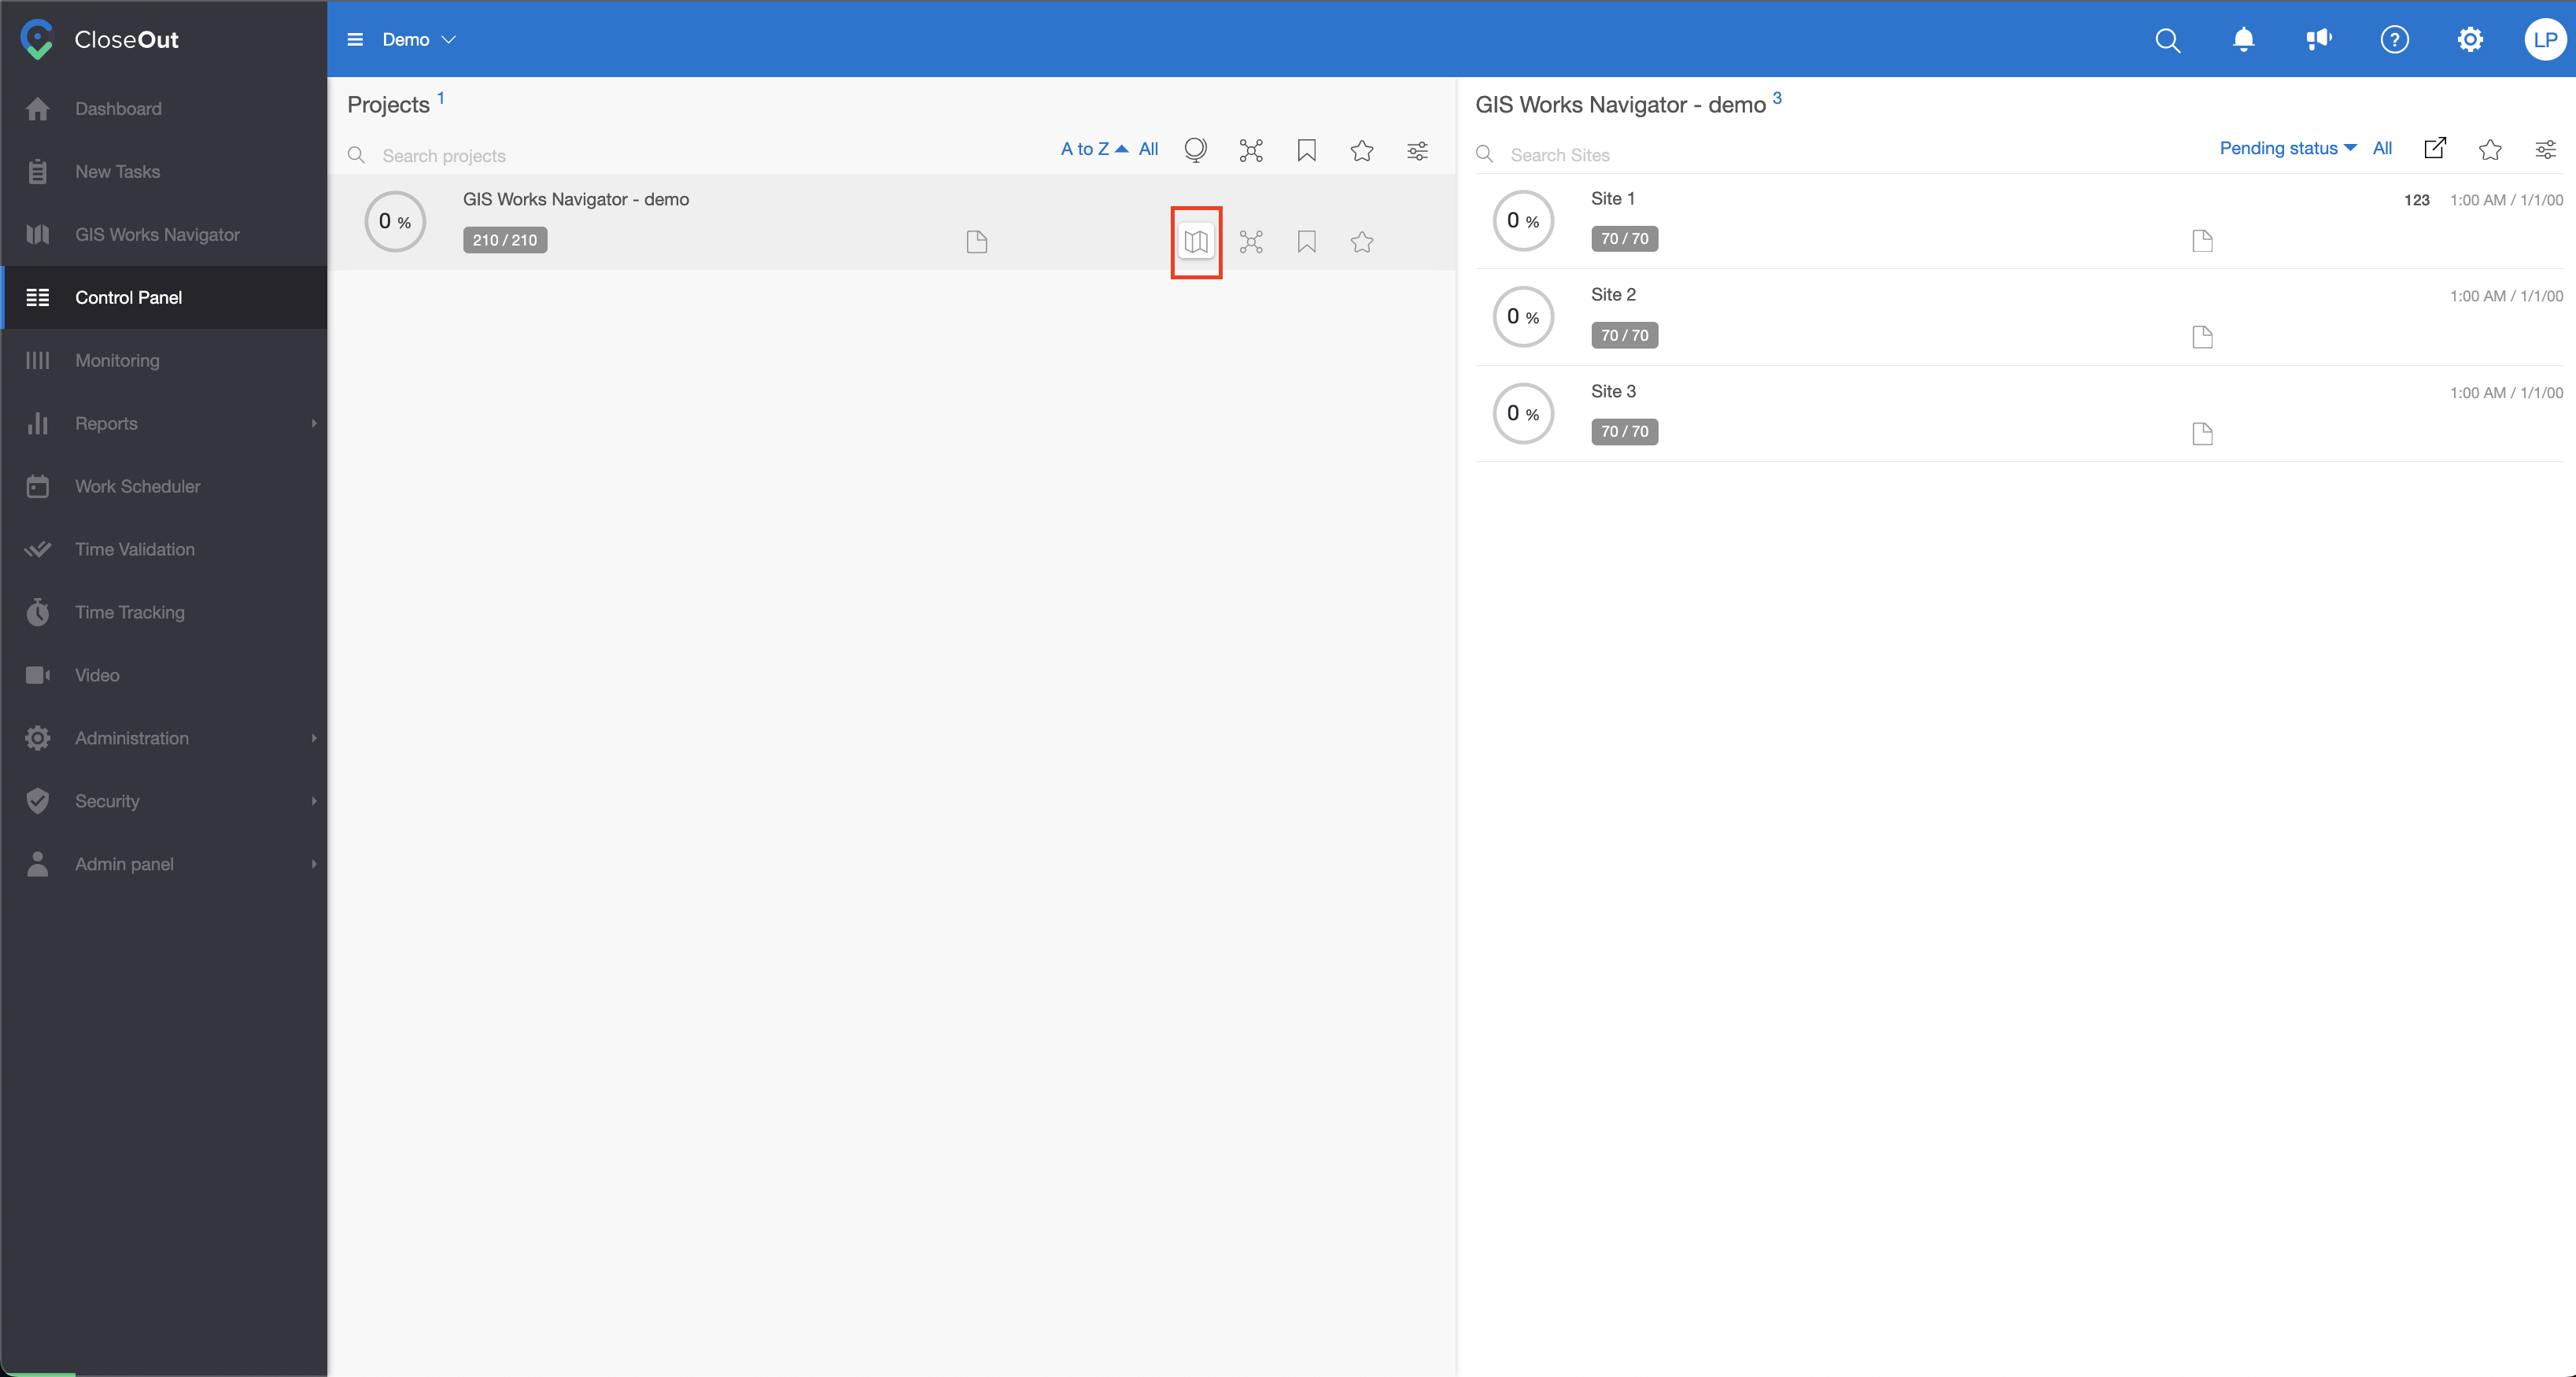
- Choose GIS Works Navigator from the main menu, or in the Control panel click on the map icon next to your Linear project.

- Click on the icon in the upper right corner to choose the project you want to see on the map.
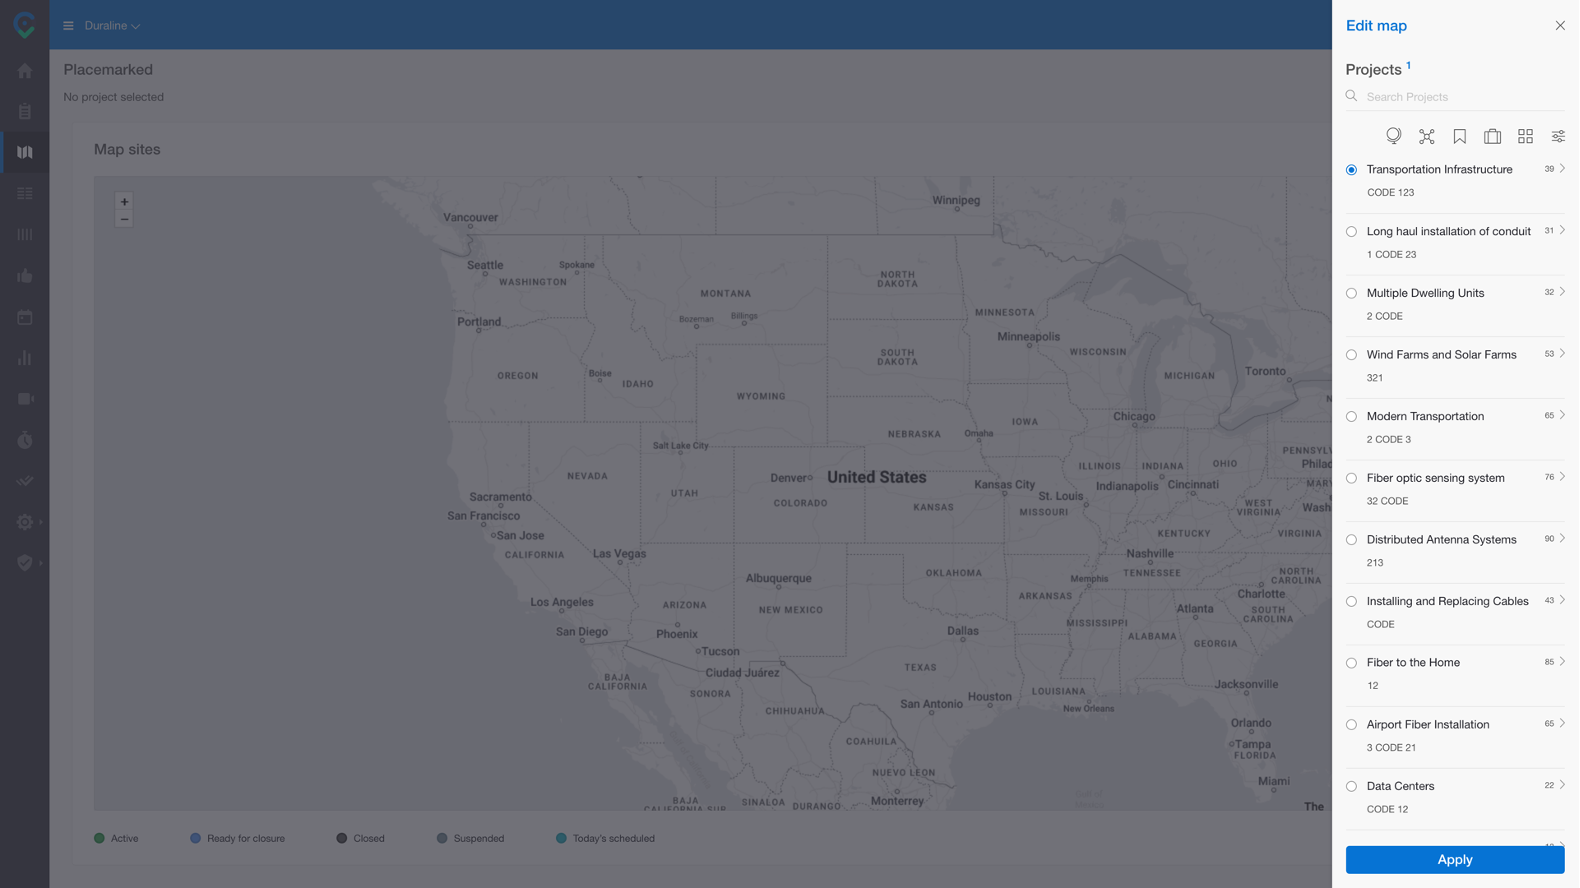
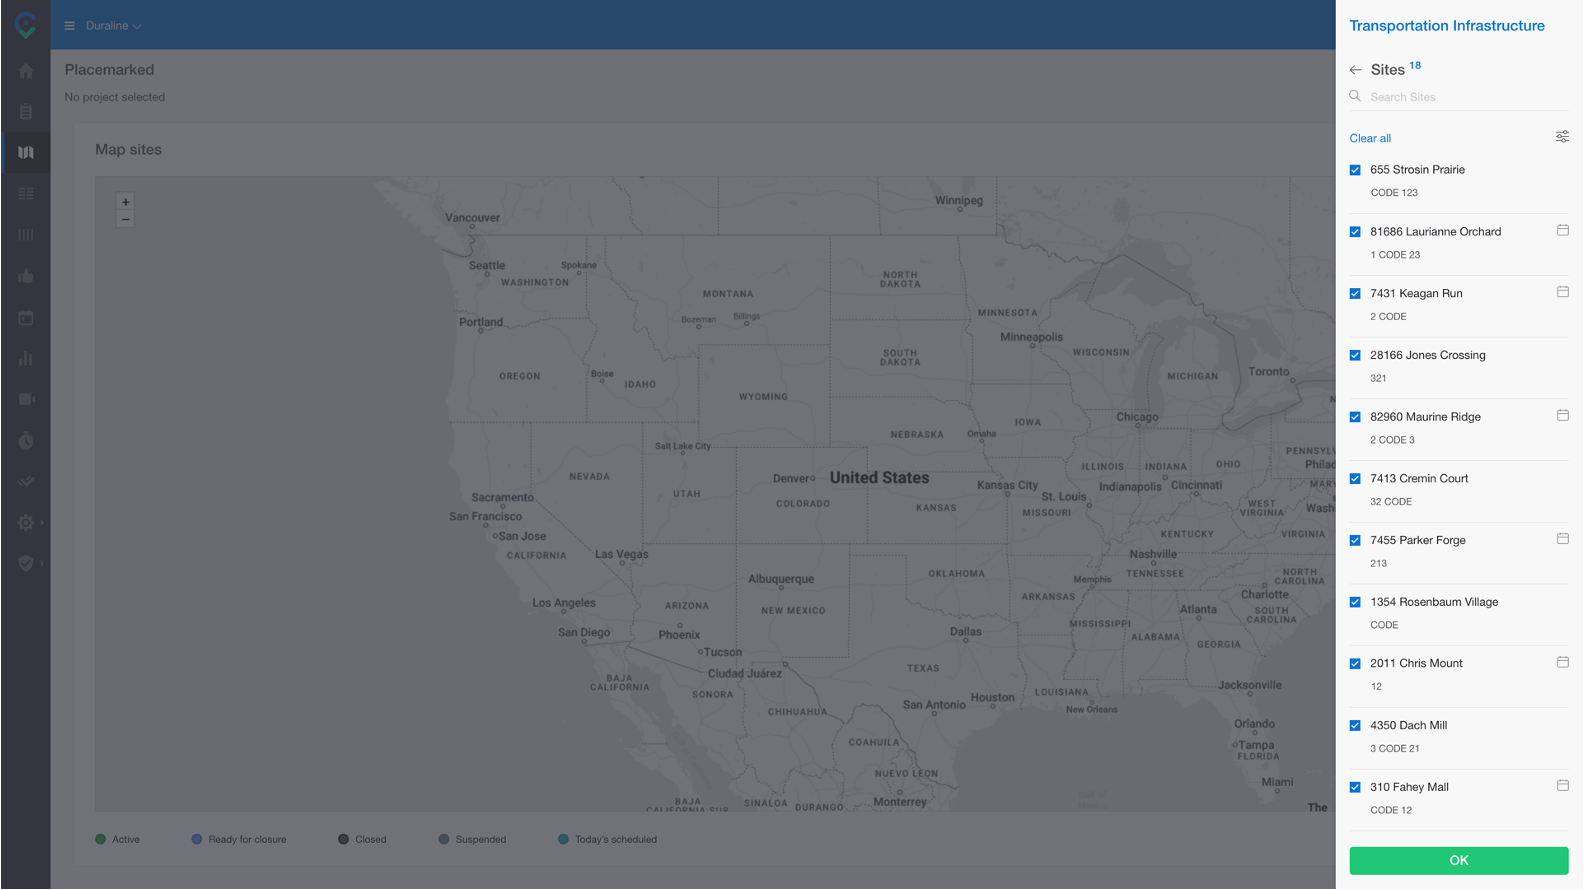
- Select the list of sites (parts of the route) to be shown or select all sites from one project.
- On the map, you will see the route with pictures that are uploaded alongside the route (placed on the latitude and longitude collected from the photos' metadata).
- The colour of the route will signify the status of the site. The colour of the photo will signify the photo status, in the same manner as in the Control panel.
Interface Overview and Interaction
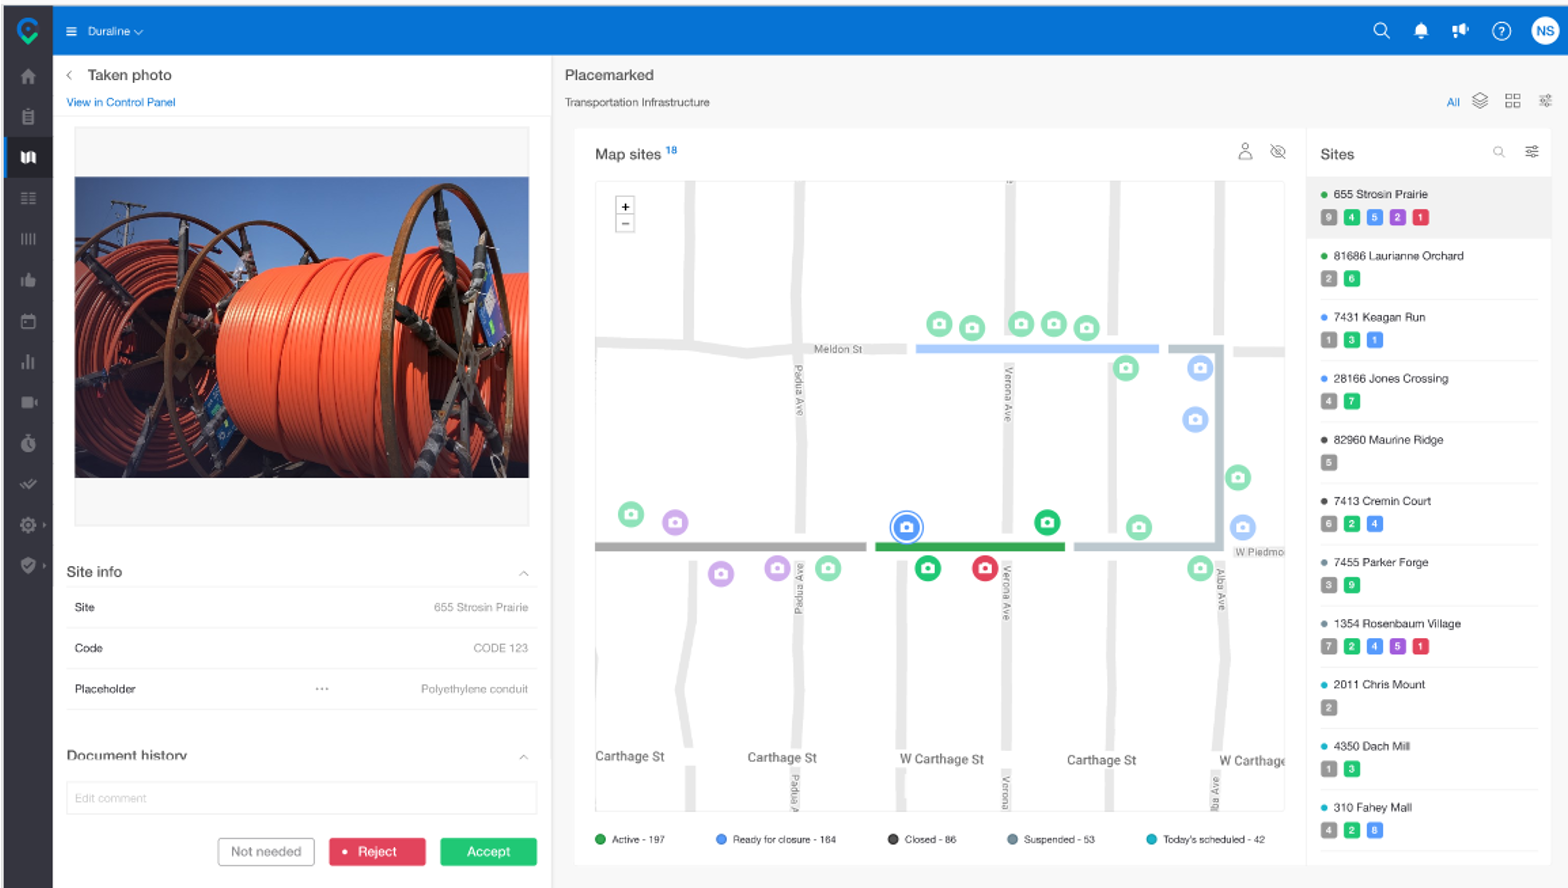
The screen is divided into three connected, interactive views:
- Photo View (left)
- Map View (center)
- Site View (right)
All three views are synchronized. Interacting with content in any view automatically updates the others.
You can interact with site-related elements across all three views, including:
- Map features (lines, points, or photo markers)
- Site entries in the Site View
- Photos in the Photo View

Each interaction triggers context-specific updates across the interface, as described below.
Photo View
The Photo View displays images associated with the selected site.
- You can scroll through available photos.
- Clicking on a photo will: open its details, display its location on the map, highlight the associated site in the Site View.
- The View in control panel option (available after selecting a photo) allows you to: open the photo in the Control Panel for additional details and actions.
Map View
The Map View provides a spatial representation of all sites and associated content.
- Clicking on a line or point on the map will: display the site’s attributes, highlight and select the corresponding site in the Site View, load associated photos (if available) in the Photo View.
- Clicking on a photo marker on the map will: open the photo details in the Photo View, highlight the associated site in the Site View.
Site View
The Site View lists all available sites and provides access to workflow functionality.
- Clicking on a site will: focus and highlight the selected site on the map, load associated photos in the Photo View.
- Clicking the Open Workflow icon will: replace the Photo View with the workflow structure for the selected site. While navigating the workflow: selecting workflow placeholders will hide the map and a list of related photos and their details will be displayed instead.
- Clicking Close Workflow will: restore the Photo View for the selected site.
Below is a short video demonstrating all this in action.
Validation of Photos
The validation process can be done in the same manner as in the regular Control panel view, and if needed, you can always click on the “View in Control panel” button.
GIS Works Navigator shortcut from the Control panel
If you are working from the Control panel on your Fiber project (that was. marked as Linear project at the moment of project creation), and you want to see it in the map view, you can do that by clicking on the map icon.