
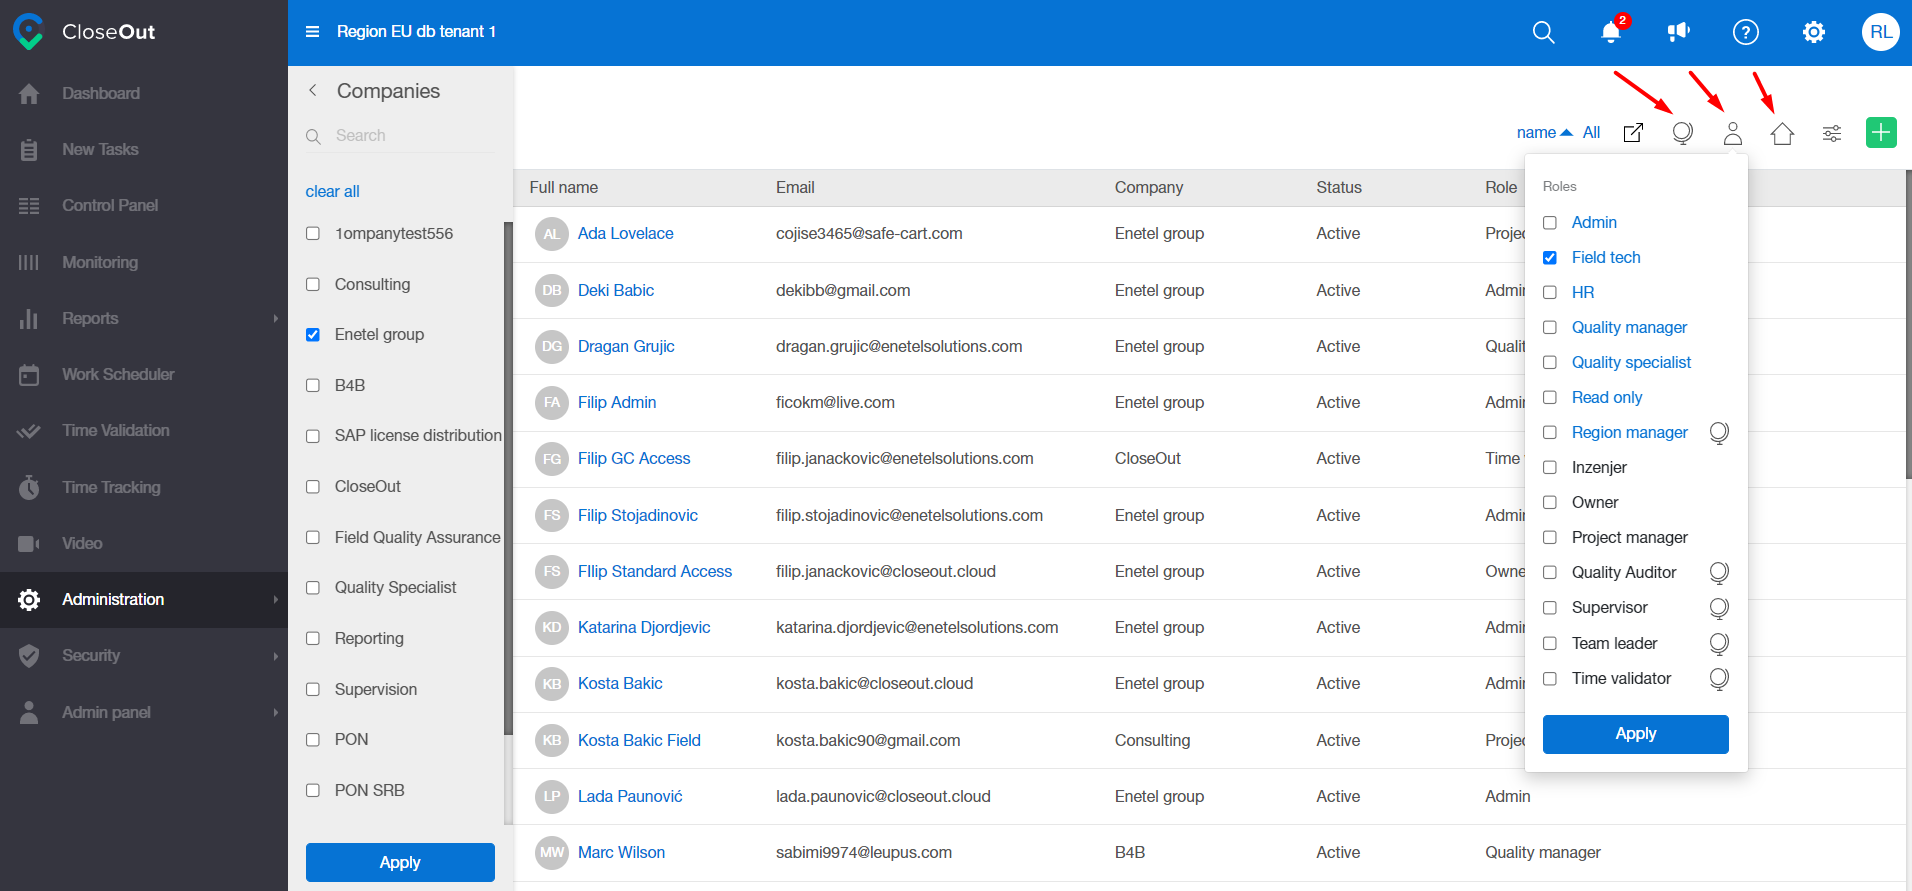
Clicking on Administration > Users displays a page with a list of all users (active and inactive). You can search users by the following parameters: name, surname, and email address. You can filter users by company, roles, or territory structure, and you can export all user certificates.
Info
Blue color roles are predefined roles, black ones are custom roles and globe icon next to the roles shows territory access has been granted to those specific roles.
On the right-hand side, every user can be edited, or deleted. By selecting a user, you can view their details, such as their documentation (certificates), user groups they belong to and projects that are assigned to them.

How to create a new user
Log into CloseOut.
In the Administration tab, select Users.
Click the add user button + .
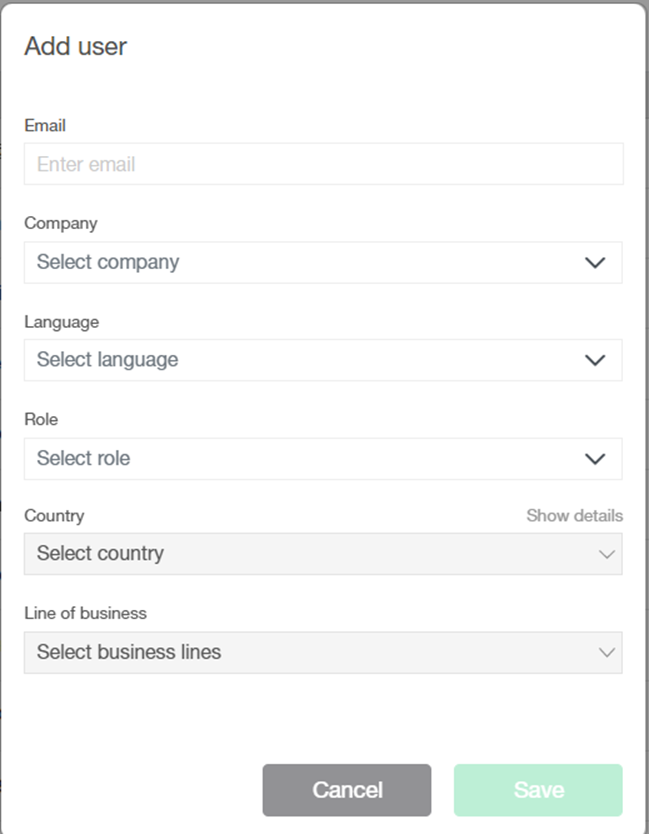
Enter the user email account.
Select a company based on your company hierarchy structure.
Select the language for the user.
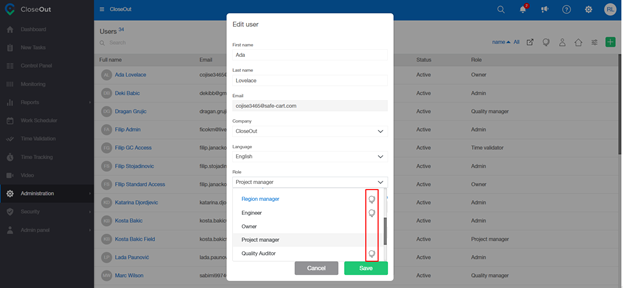
Choose a role for the user.
If you decide to add a territory access role (the one with a globe icon next to the name of the role), that means that a person will be automatically added to all projects assigned to a specific territory.
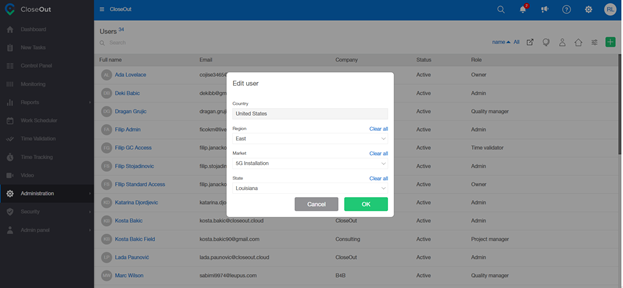
After role with territory access is selected, fields Country and Line of business will become available. Then you can assign to which part of territory structure user will have access to.
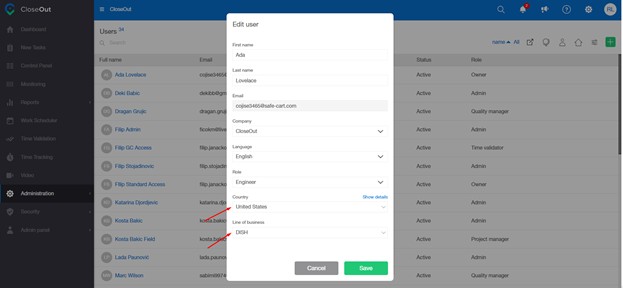
After selecting a country, “Show details” will become available. This gives us the option to narrow down the part of the structure (projects) the user will be added to.
Besides territory structure, Line of business can be set which can narrow down user’s access to projects furthermore.
Info
If no country is selected, then user will have a global access to all projects within the tenant.
Notice
Users with territory access will not be visible in Security since they will have access to all projects within the selected territory structure.
When you setup all the details for the new User, click Save.
The new user will now receive an email with the login instructions and a link to the web app. For an easy start, we recommend that you share account activation instructions with new users.
If the user isn't activated yet or didn’t get the activation e-mail, you can resend the activation link by hovering over his name in the user list and clicking on the letter icon.
Once the users set their password, they can log into CloseOut. In the User Settings section, they can edit their preferred language and time zone.
Tips
To learn how to add users to the projects and assign project roles to them, please check the article: How to assign a user to a project or a site.